After you install and activate Payment Page, four steps get you to a working payment form.
1. Connect Stripe#
Open Payment Page > Payment Gateways and click Connect with Stripe. Stripe asks you to sign in and approve the connection, then returns you to WordPress with your account connected.

- Test and live mode connect separately. Connect test mode first and take a test payment before you go live.
- The Test / Live switch sets the mode for every form on the site.
- Payment Page creates the Stripe webhook it needs as part of connecting. See Stripe Webhook if the gateway ever shows a webhook notice.
To take PayPal payments as well, see PayPal.
2. Turn on payment methods#
Below the Stripe header, tick the payment methods your site should offer. Each form then picks from these.
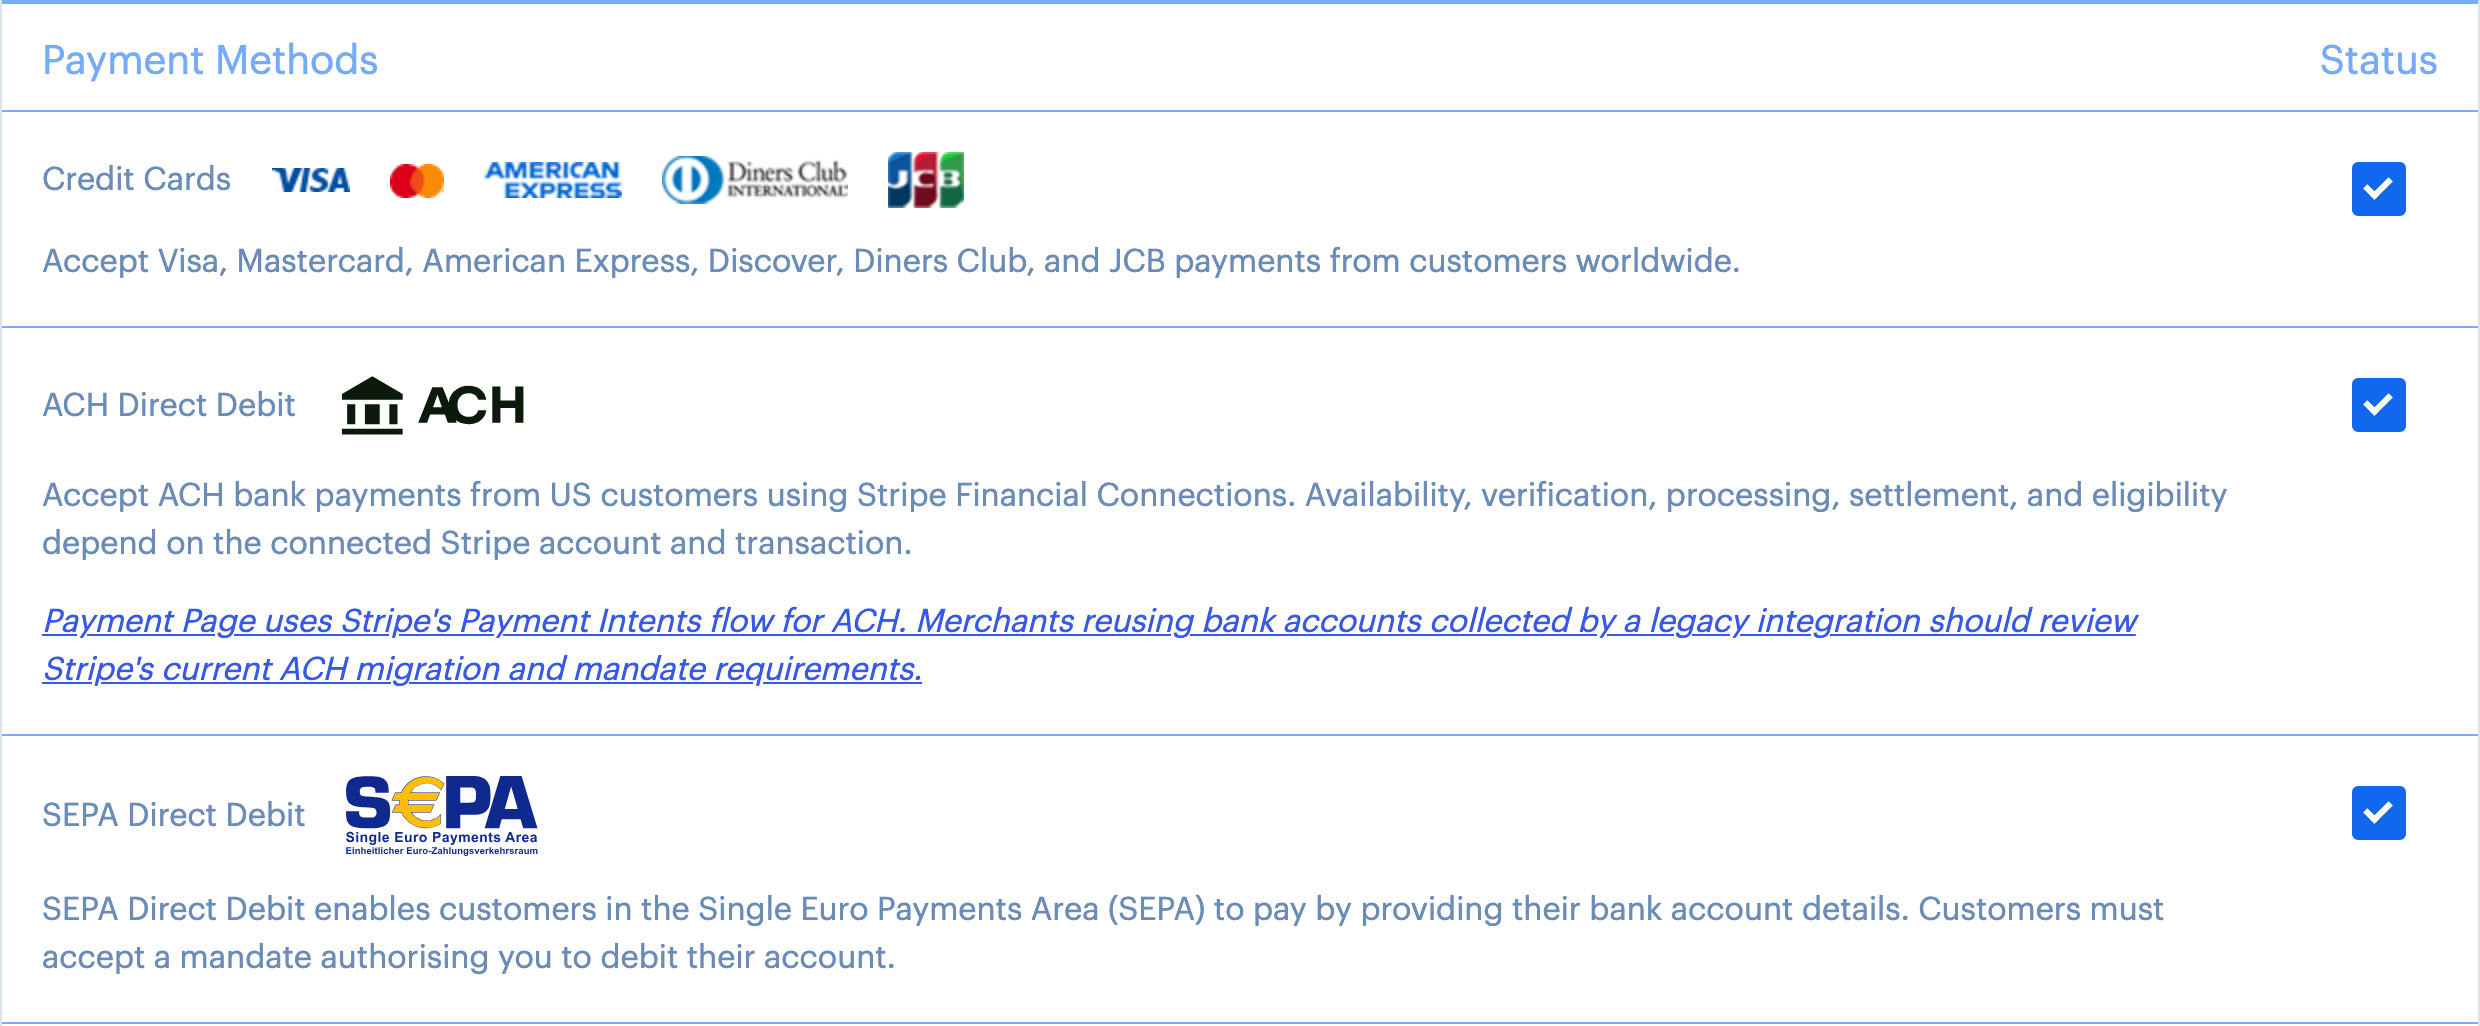
See Payment Methods for what each method needs.
3. Create a payment form#
Go to Payment Page > Payment Forms and click Add New. Name the form, choose a template and click Create a new Payment Form.
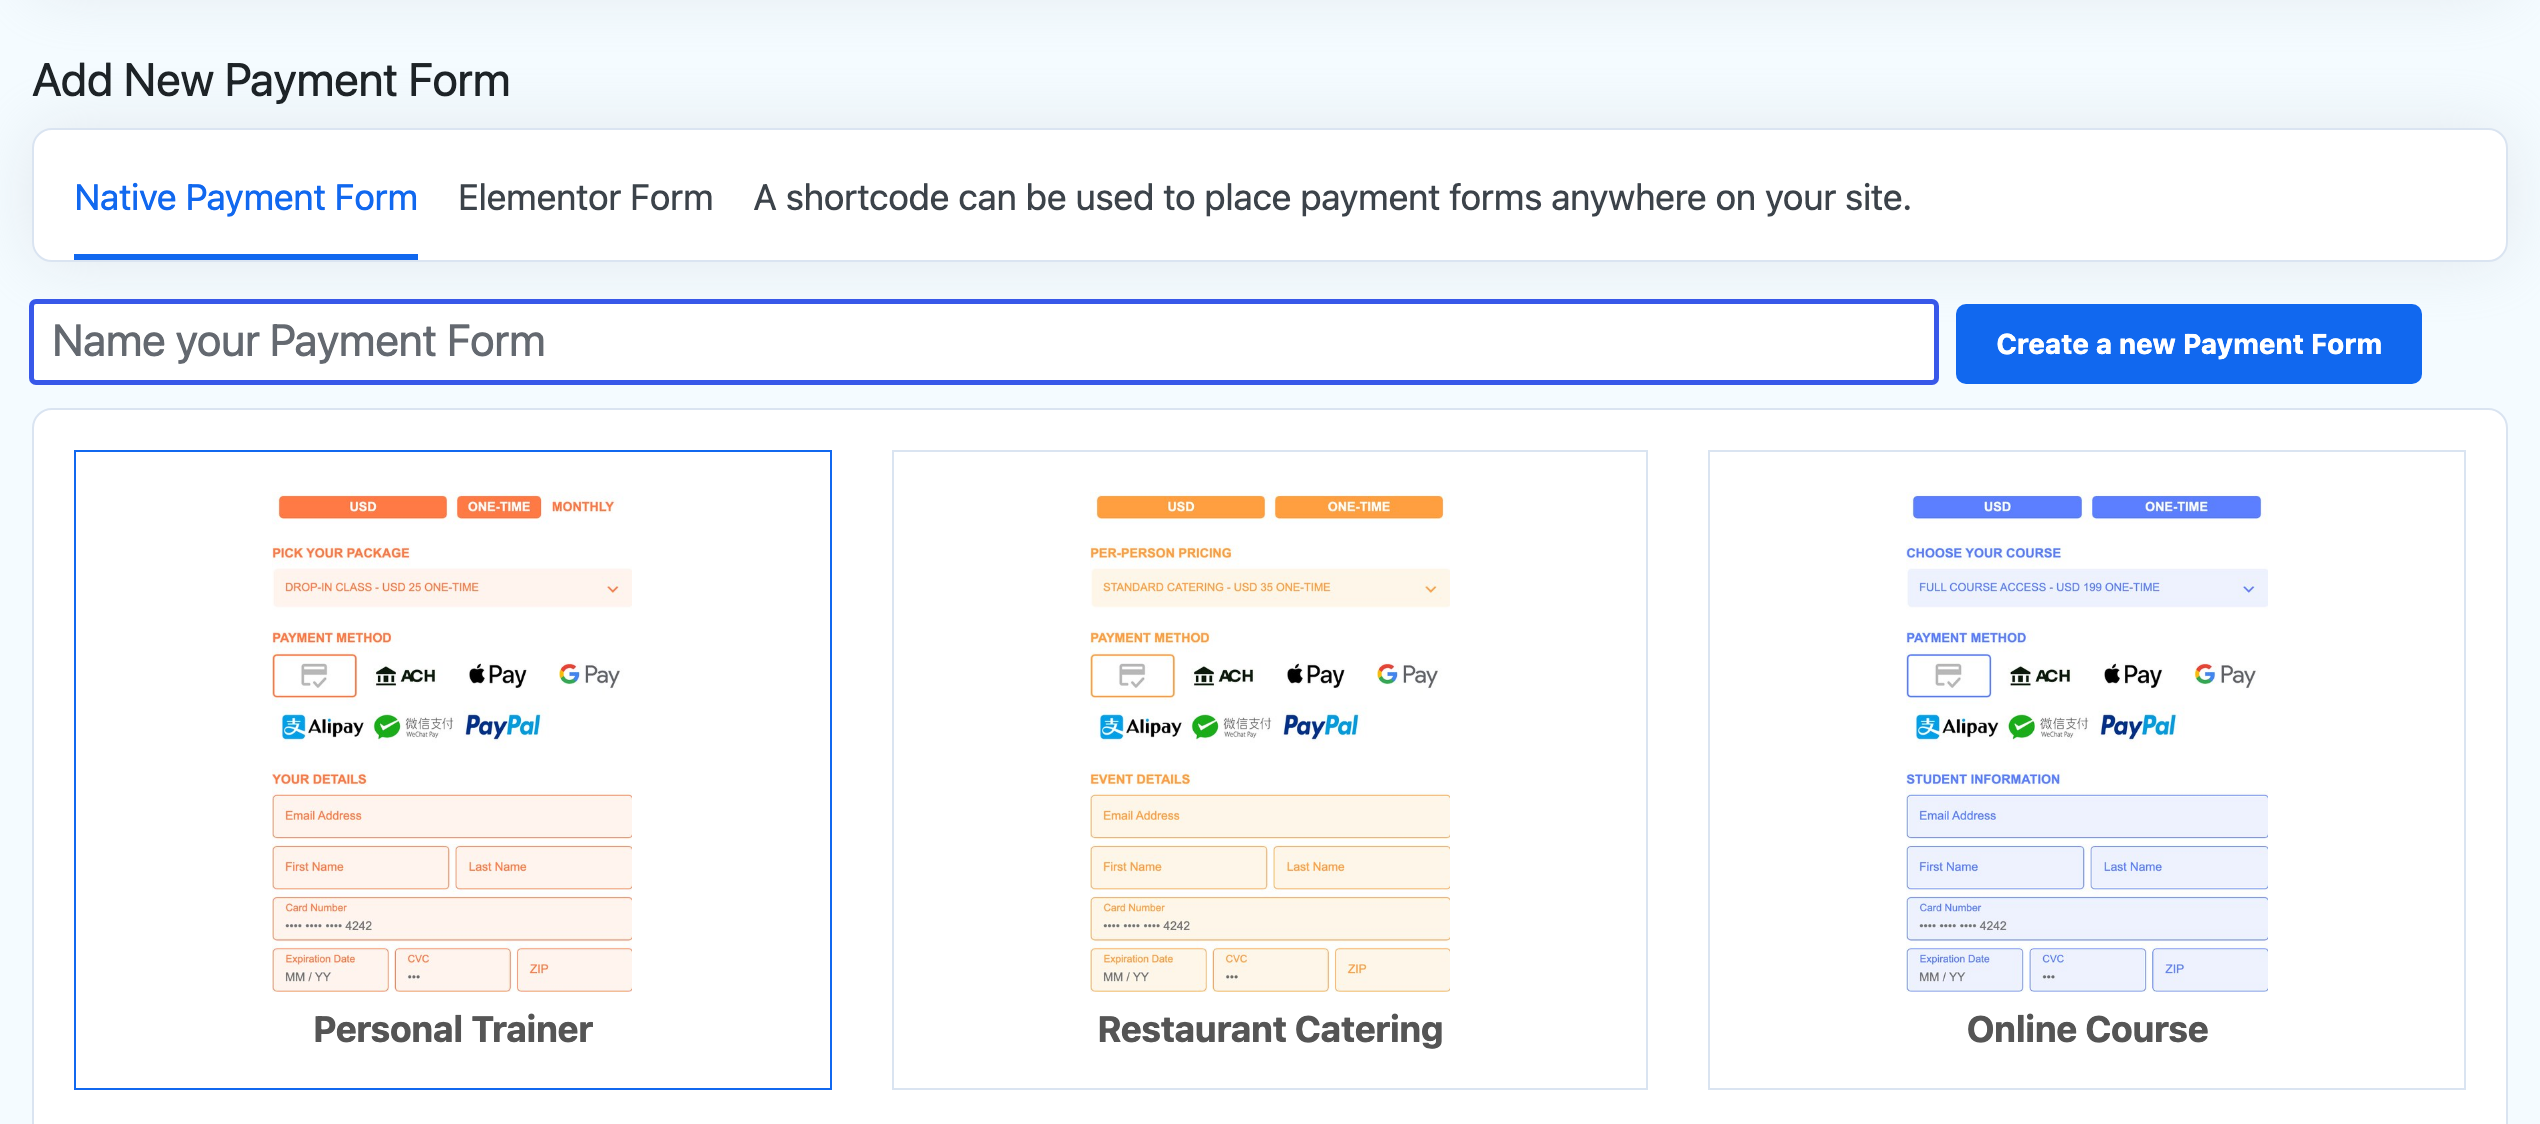
Templates cover common uses such as coaching, events, donations, memberships and digital products. Some are already set up with order bumps, products, upsells and cart reminders. The Elementor Form tab creates a full Elementor page around the form instead.
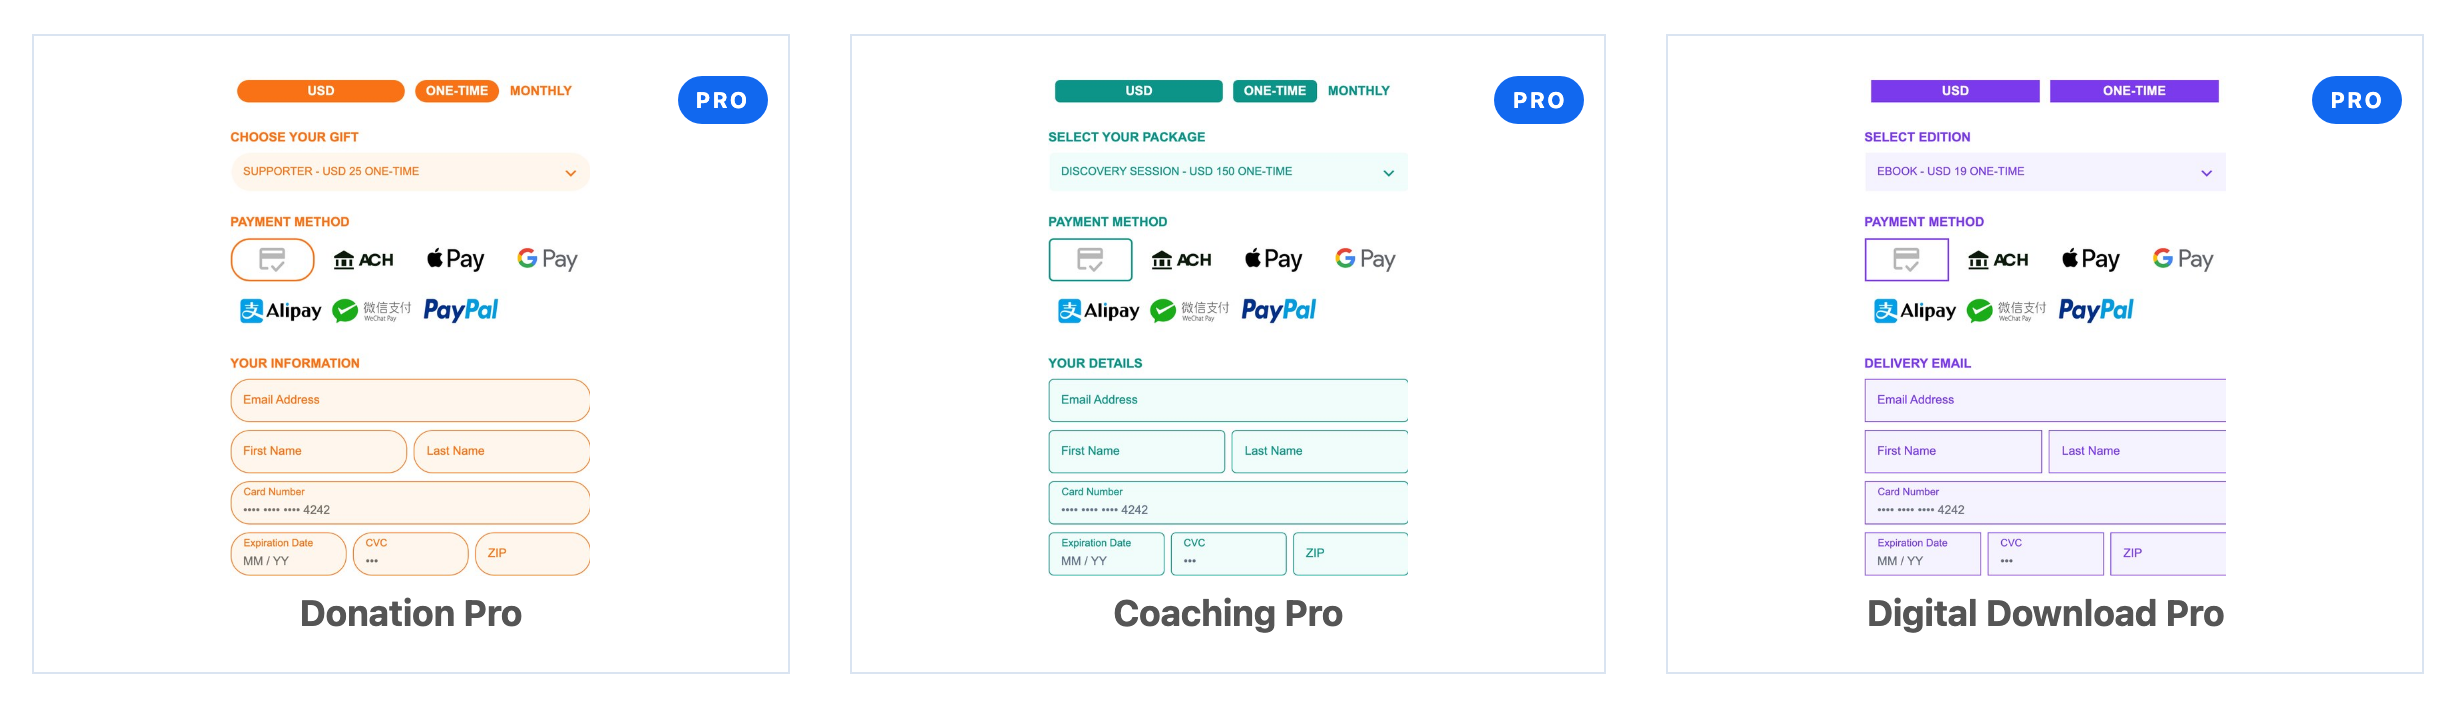
With Pro you can also choose the templates marked PRO:
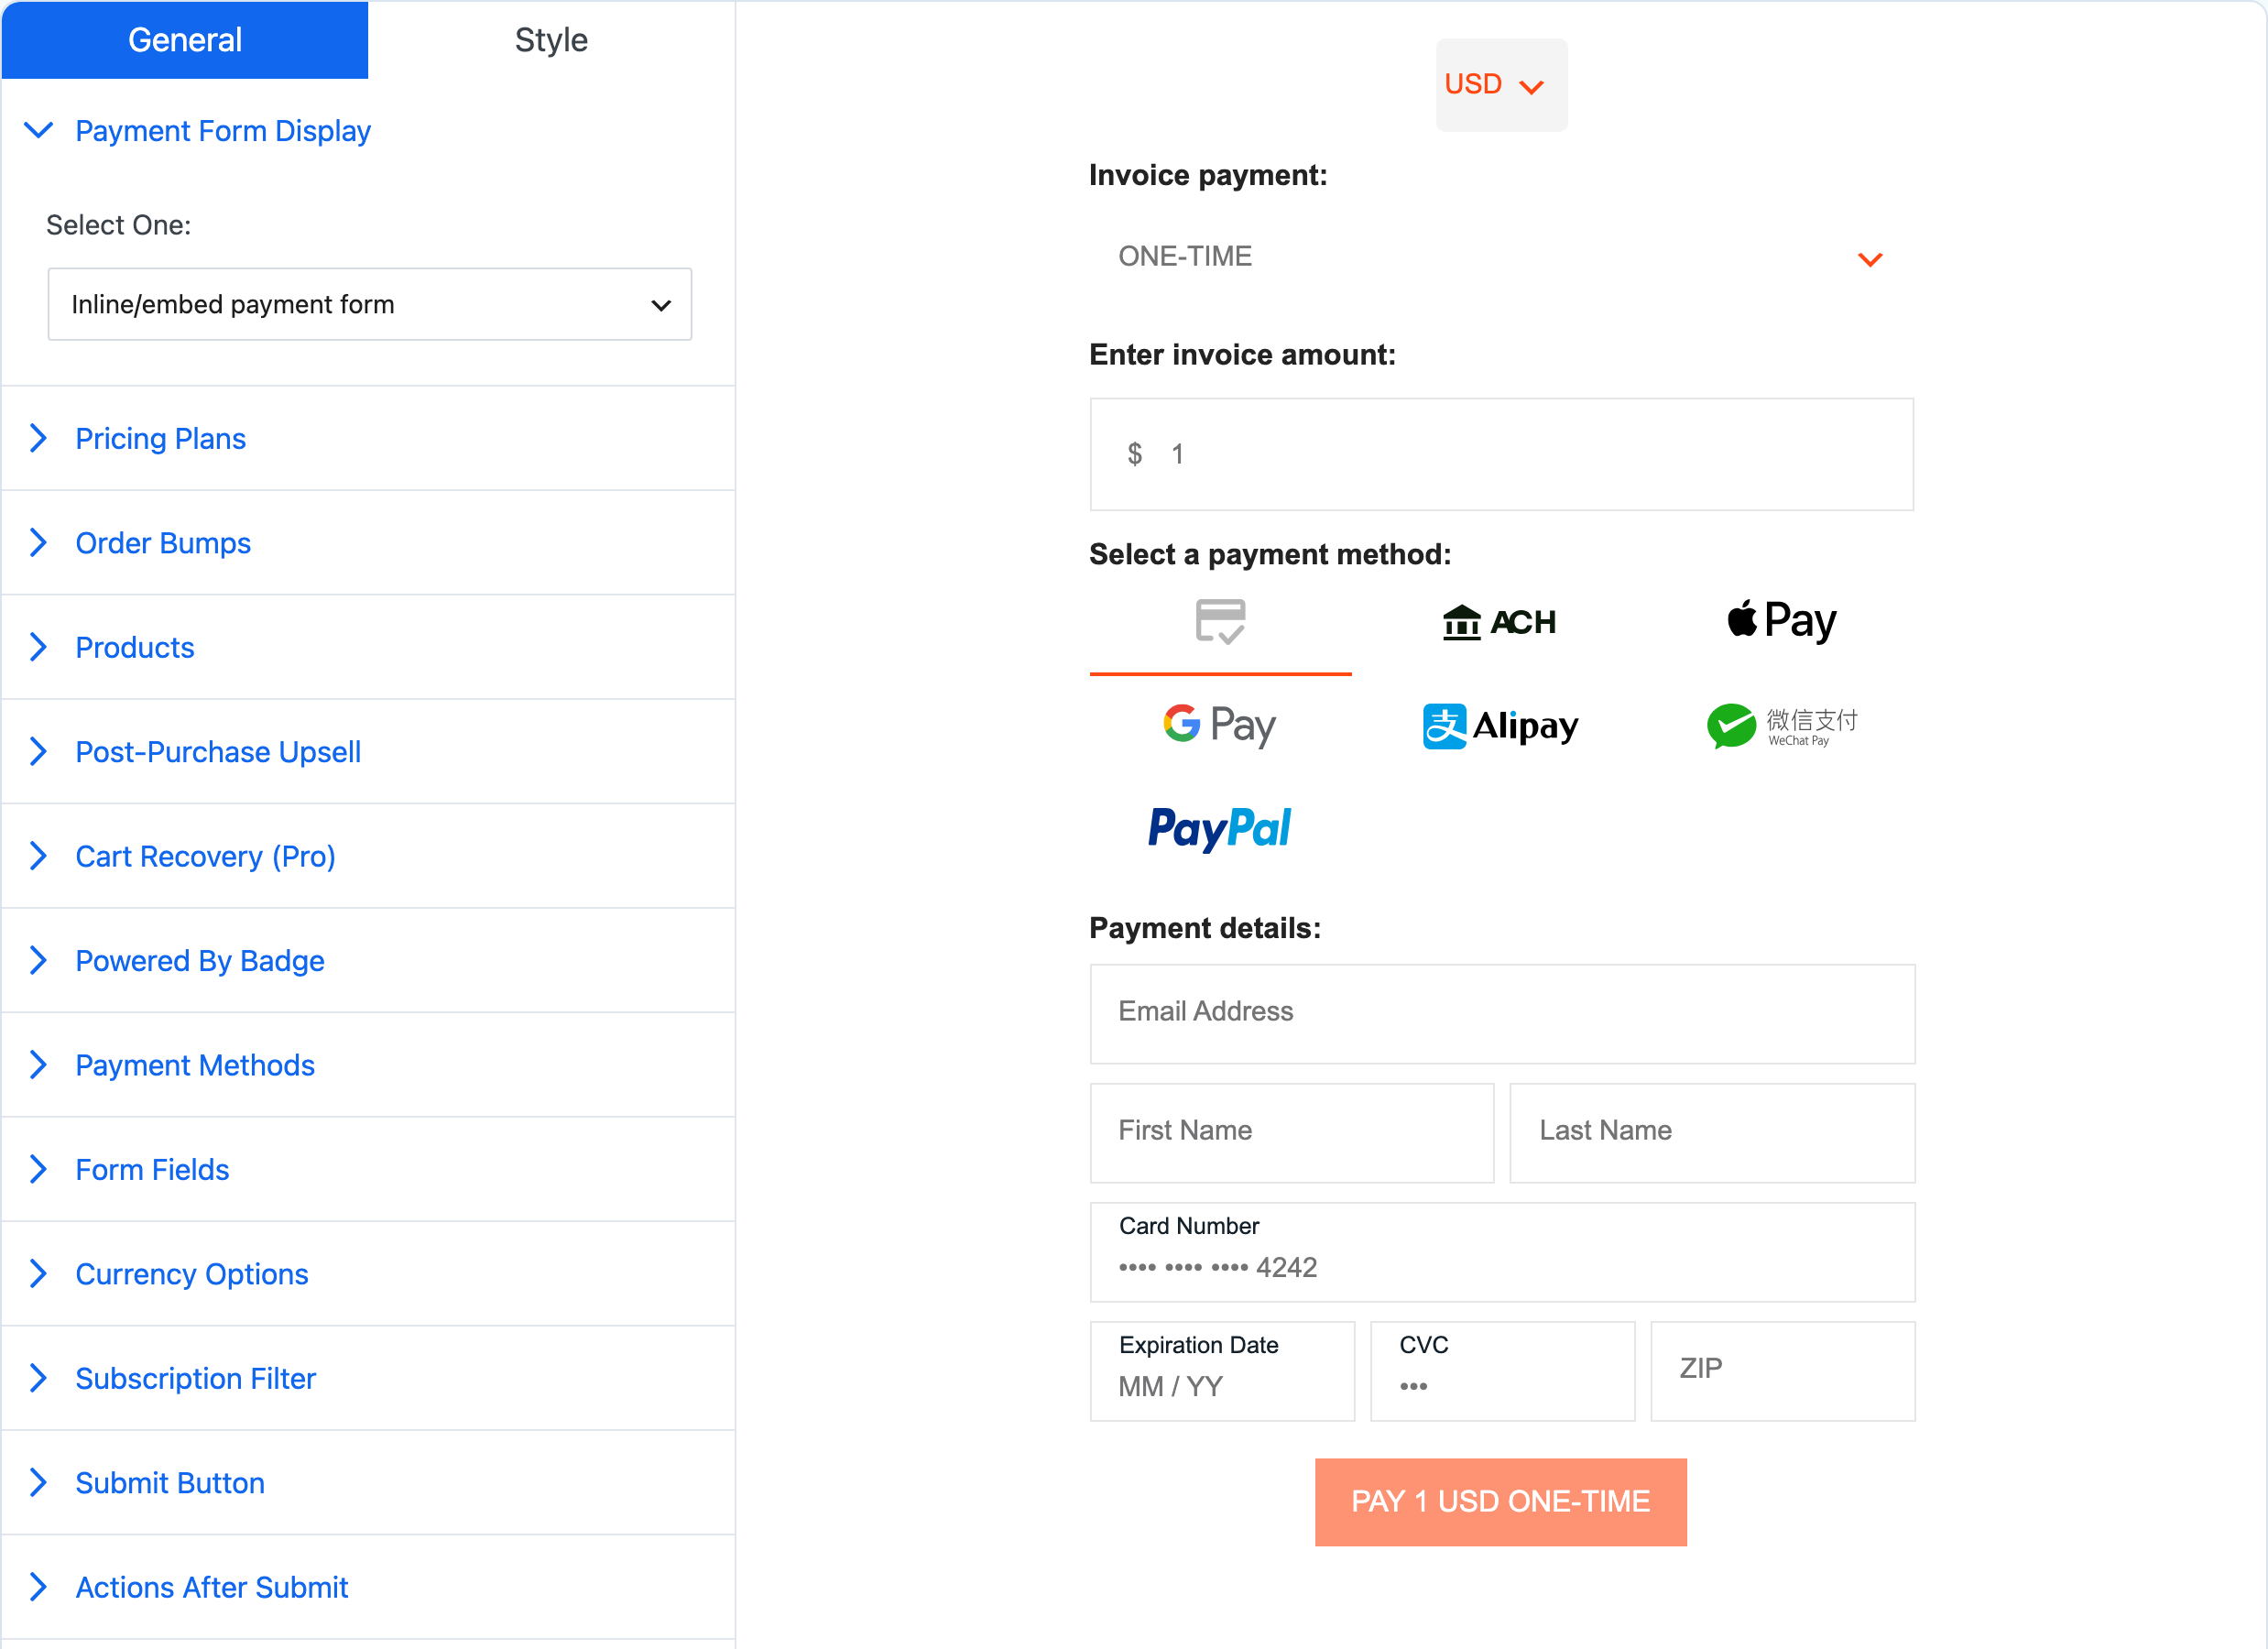
The form opens in the builder. General holds what the form sells and does, Style holds how it looks, and the live preview on the right updates as you edit. Set the status at the top of the screen to Active (live) or Draft and click Update to save.
4. Put the form on a page#
Copy the form's shortcode from the Payment Forms list and paste it into any page, post or widget:
[payment-page-payment-form id="123"]

On an Elementor page, add the Payment Page Form widget and pick the form instead. Draft forms show only to logged-in administrators, so you can check a form on the page before you publish it.